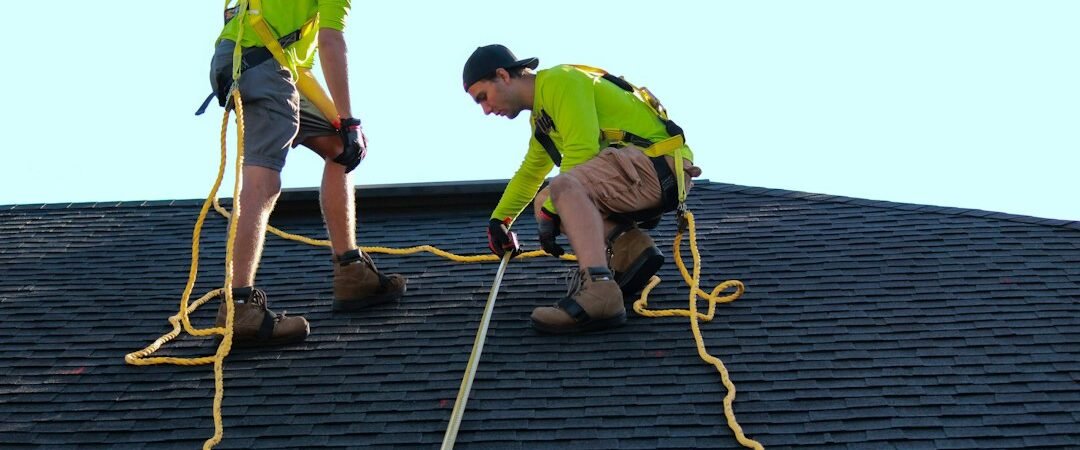
Finding the source of a roof leak is one of those things that sounds simple enough, until you actually try to find it. Water marks show up on a ceiling, around a wall, or near a light fixture, so it is natural to assume the roof is leaking directly above that spot. Sometimes it is. Just as often, though, water enters farther away and travels along roof framing, sheathing, insulation, or a seam before it finally becomes visible inside the home.
The task becomes narrowing down where the water is getting in, what kind of roof you have, and whether the leak is coming from the roof at all. A careful diagnosis can keep a small repair from turning into an expensive cycle of coating and re-caulking work that never addresses the real opening.
This article contains affiliate links to Mobile Home Parts Store. If you make a purchase through these links, we may earn a commission at no additional cost to you.
Start with the inside evidence
Begin where the water first became visible. Look for a stain, soft ceiling panel, peeling finish, wet insulation, or discoloration around a vent, skylight, wall, or marriage line. Note whether the problem appears only during heavy rain, during wind-driven rain, after snow or ice melts, or even when the weather has been dry.
Timing matters because it helps separate an exterior leak from condensation or plumbing as the source. A stain that grows only during rain points toward the roof or an exterior opening. Moisture that appears during cold weather without rain may involve condensation. A wet area below a bathroom, water heater, or plumbing line may have nothing to do with the roof.
Water and electricity are a deadly combo, so if water is near a light fixture, ceiling fan, electrical box, or wiring, avoid opening the area or touching wet electrical components. Shut off the affected circuit if you can do so safely and have the problem evaluated before continuing.
Identify the roof type before deciding what to inspect
Manufactured homes do not all use the same roof system. Older mobile homes may have low-slope metal roofing with long seams, exposed fasteners, or a center seam. Most newer manufactured homes use asphalt shingles over roof sheathing. Other homes have membrane roofing, additions, roof-over systems, or combinations created by later remodeling.
The likely failure points depend on the roof. On a metal roof, pay close attention to seams, fasteners, edge details, roof jacks, vents, and old patches. On a shingle roof, look for damaged or missing shingles, flashing problems, exposed fasteners, deteriorated pipe boots, and places where the roof meets a wall or addition. A roof-over system, where a second roof was installed directly over the home’s original roof, might also be the problem. Because space can exist between the two roof layers, water may enter the newer roof in one spot and travel before reaching the original roof below.
Look first at penetrations, seams, and transitions
Roof openings are common leak locations because they interrupt the continuous roof surface. Plumbing vents, furnace roof jacks, exhaust vents, skylights, antenna mounts, and other penetrations all depend on flashing, boots, gaskets, or sealants to keep water out.
Also inspect transitions: the ridge or center seam, roof edges, valleys, the connection between a porch or addition and the home, and any place where different roofing materials meet. A coating may look intact across the broad field of a metal roof while a narrow seam or fastener has failed.
And don’t just assume more caulk is always better. Old sealant can crack, pull away, or trap water under new material if the surface is dirty or incompatible. A lasting repair usually starts with removing loose material, cleaning and drying the area, and using a repair method suited to your specific roof type.
If the problem turns out to be a repairable seam, fastener, or coating issue, Mobile Home Parts Store carries roof coatings, butyl tape, Peel & Seal, and other mobile-home roofing supplies.
Remember that water can travel
The stain inside the home gives you a starting point, not an exact map. Water may follow a truss, roof panel rib, seam, ceiling framing member, or layer of insulation before it drips. On a double-wide, water can also travel along the marriage-line area, especially if the roof connection or later roof work created a path.
One useful approach is to compare the interior location with fixed exterior landmarks such as vents, chimneys, skylights, roof edges, or the marriage line. Ground-level photos can also help. If a professional is inspecting the roof, showing where the stain is located inside can save time and reduce guesswork.
Check for problems that only look like a roof leak
Condensation can imitate a leak. Warm, humid indoor air can condense on a cold roof deck, metal surface, duct, or vent pipe. A disconnected bathroom fan or dryer vent can also dump moisture into a ceiling or roof cavity. In those cases, sealing the roof may do nothing because the water forms inside the home.
Plumbing is another possibility. Water lines, drains, a water heater, or an appliance connection can leak and spread into flooring, walls, or ceiling areas. If the wet spot doesn’t consistently follow a period of rain, broaden the inspection before paying for roof work.
Know when the roof needs more than a patch
A localized flashing or seam problem may be repairable. But widespread rust-through, soft or deteriorated roof decking, repeated leaks in several locations, badly deteriorated shingles, large areas of failed coating, or damage around structural roof components point to a larger project.
The useful outcome of a roof inspection is not simply finding something to seal. It is identifying the path the water is taking and repairing it at the first point of entry. Once you correct that, monitor the interior during the next hard rain before assuming the problem is solved.